Kitchen Cleaning for Bond Returns: A Room-by-Room Guide
Kitchen Cleaning for Bond Returns
The kitchen is where most bond disputes begin. It's one of the most scrutinised areas during bond inspections, alongside bathrooms, and kitchen issues are among the most common reasons bonds are withheld. If you're approaching the end of your tenancy and want your full deposit back, working through the kitchen methodically — surface by surface, appliance by appliance — is the most reliable way to get there.
This guide covers the five areas that matter most: rangehoods, splashbacks and stovetops; the oven interior; cabinet interiors and drawer liners; sink fixtures and tapware; and the refrigerator space. Work through them in sequence and you'll have a solid foundation for passing the final inspection.
Why the Kitchen Demands This Much Attention
The real difference between a regular clean and a successful end-of-lease clean is attention to detail. Property managers inspect places you probably ignore in day-to-day life, like the inside of cabinets, behind the fridge, and all along the baseboards.
New Zealand's Residential Tenancies Act 1986 requires tenants to return rental properties in a reasonably clean and tidy condition (see section 40 of the Act, which has been amended multiple times — verify the current wording at Tenancy Services NZ). That obligation sounds straightforward until you face a property manager who interprets it strictly. Tenancy Tribunal decisions generally indicate that the standard means returning the property to a comparable cleanliness level as when you moved in, accounting for normal wear and tear — though outcomes can vary depending on individual circumstances and the evidence presented.
Cleaning disputes are among the most frequent sources of bond disagreements. Both parties may need to provide evidence — such as condition reports and photos — and tenants are encouraged to consult Tenancy Services NZ for accurate guidance on how the evidentiary process works. Thorough kitchen cleaning leaves less room for dispute.
Note on professional cleaning: Before beginning any DIY clean, check your tenancy agreement. Some agreements require tenants to provide a professional cleaning receipt rather than, or in addition to, completing the clean themselves. For severe grease or carbonised buildup, professional services may also be more cost-effective relative to potential bond deductions. If in doubt, contact Tenancy Services NZ.
1. Rangehoods, Splashbacks, and Stovetops
This trio is almost always inspected as a group, and rightly so — they're the epicentre of grease accumulation in any kitchen.
Rangehood
The range hood is one of the most important yet overlooked kitchen appliances. Its job is to filter out grease, smoke, and odours, but those same particles slowly clog its filters and vents. Over time, this buildup stops it from working efficiently and can even lead to lingering smells or excess smoke.
Rangehood filters accumulate grease that standard wiping won't remove. You need to actually pull the filters out and soak them. Fill your sink or a bucket with hot water, baking soda, and a squirt of degreasing soap. Submerge the filters and let them soak for at least 10 to 15 minutes. The longer the soak, the easier the clean.
Once soaked, scrub with a firm brush, rinse thoroughly, and let them air-dry before reinstalling. Don't forget the exterior housing of the rangehood itself. Rangehoods require filter removal and degreaser soaking. The exterior surfaces and underside need degreasing as well. Property managers often run fingers along the underside edge, which can reveal whether you cleaned thoroughly or just wiped visible surfaces.
If your unit has aluminium mesh filters, avoid steel wool or harsh abrasives, which can corrode the surface.
Splashback
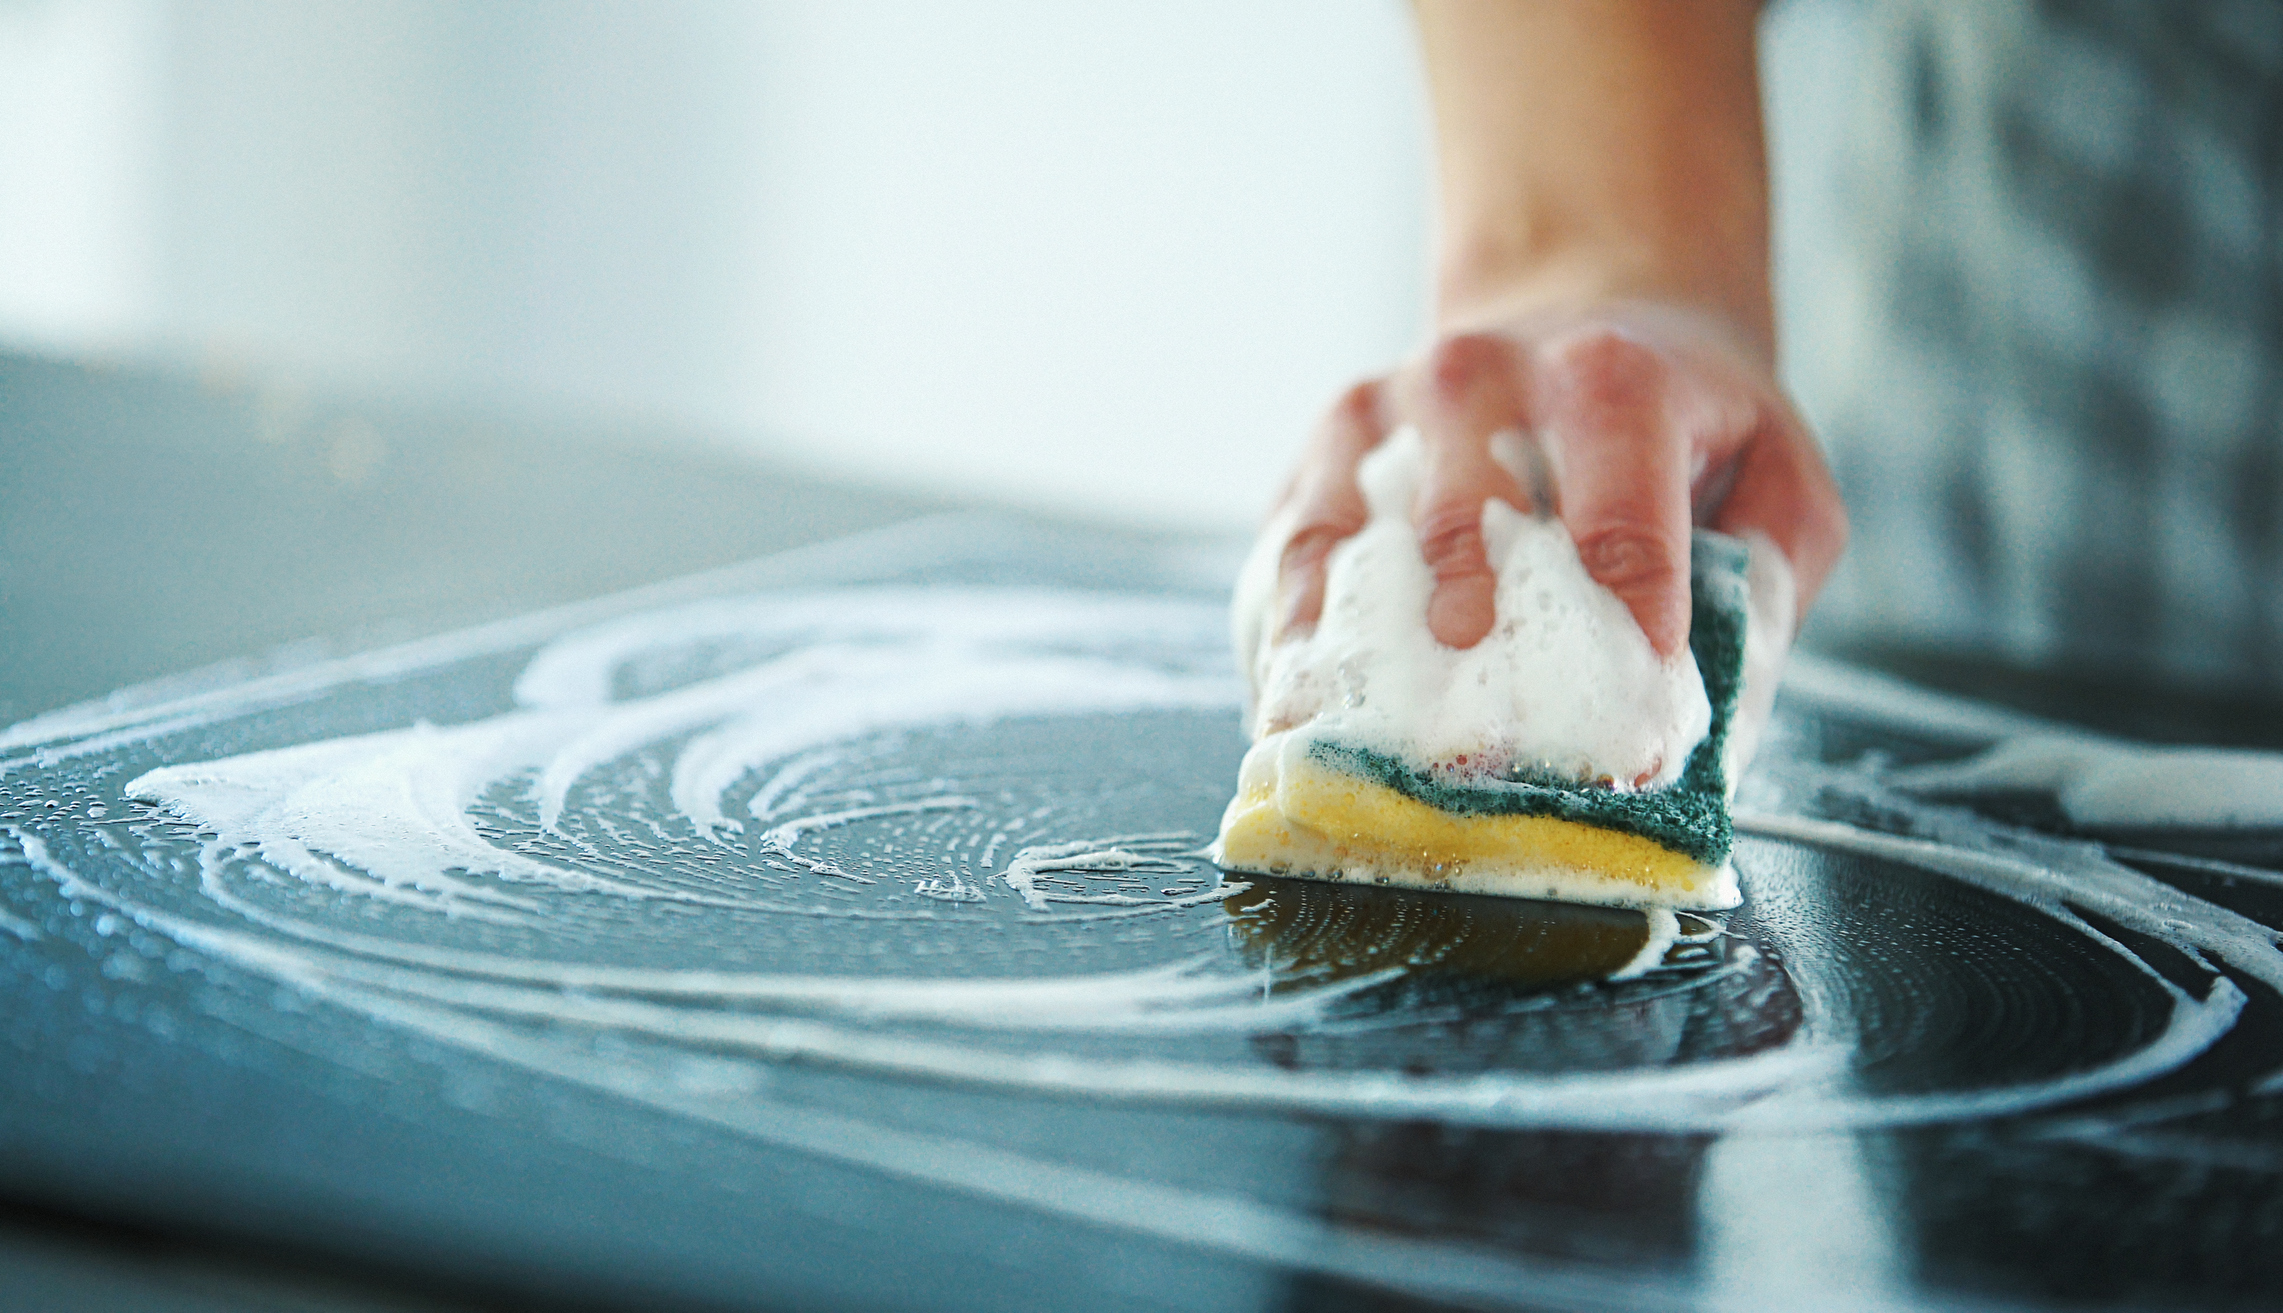
Splashbacks catch everything that bounces off a hot pan. Oil mist, sauce splatter, and steam residue build up in layers over months, and on tiled splashbacks the grout lines trap the worst of it. Apply a kitchen degreaser, let it sit for a few minutes to break down the grease, then wipe with a non-abrasive cloth. Benchtops, splashbacks, and all cabinet surfaces need degreasing, not just wiping. Pay special attention to areas around the stove where oil splatter accumulates.
For grouted tile splashbacks, a stiff-bristled brush works well in the lines. Rinse thoroughly to avoid leaving a chemical residue, which can streak under inspection lighting.
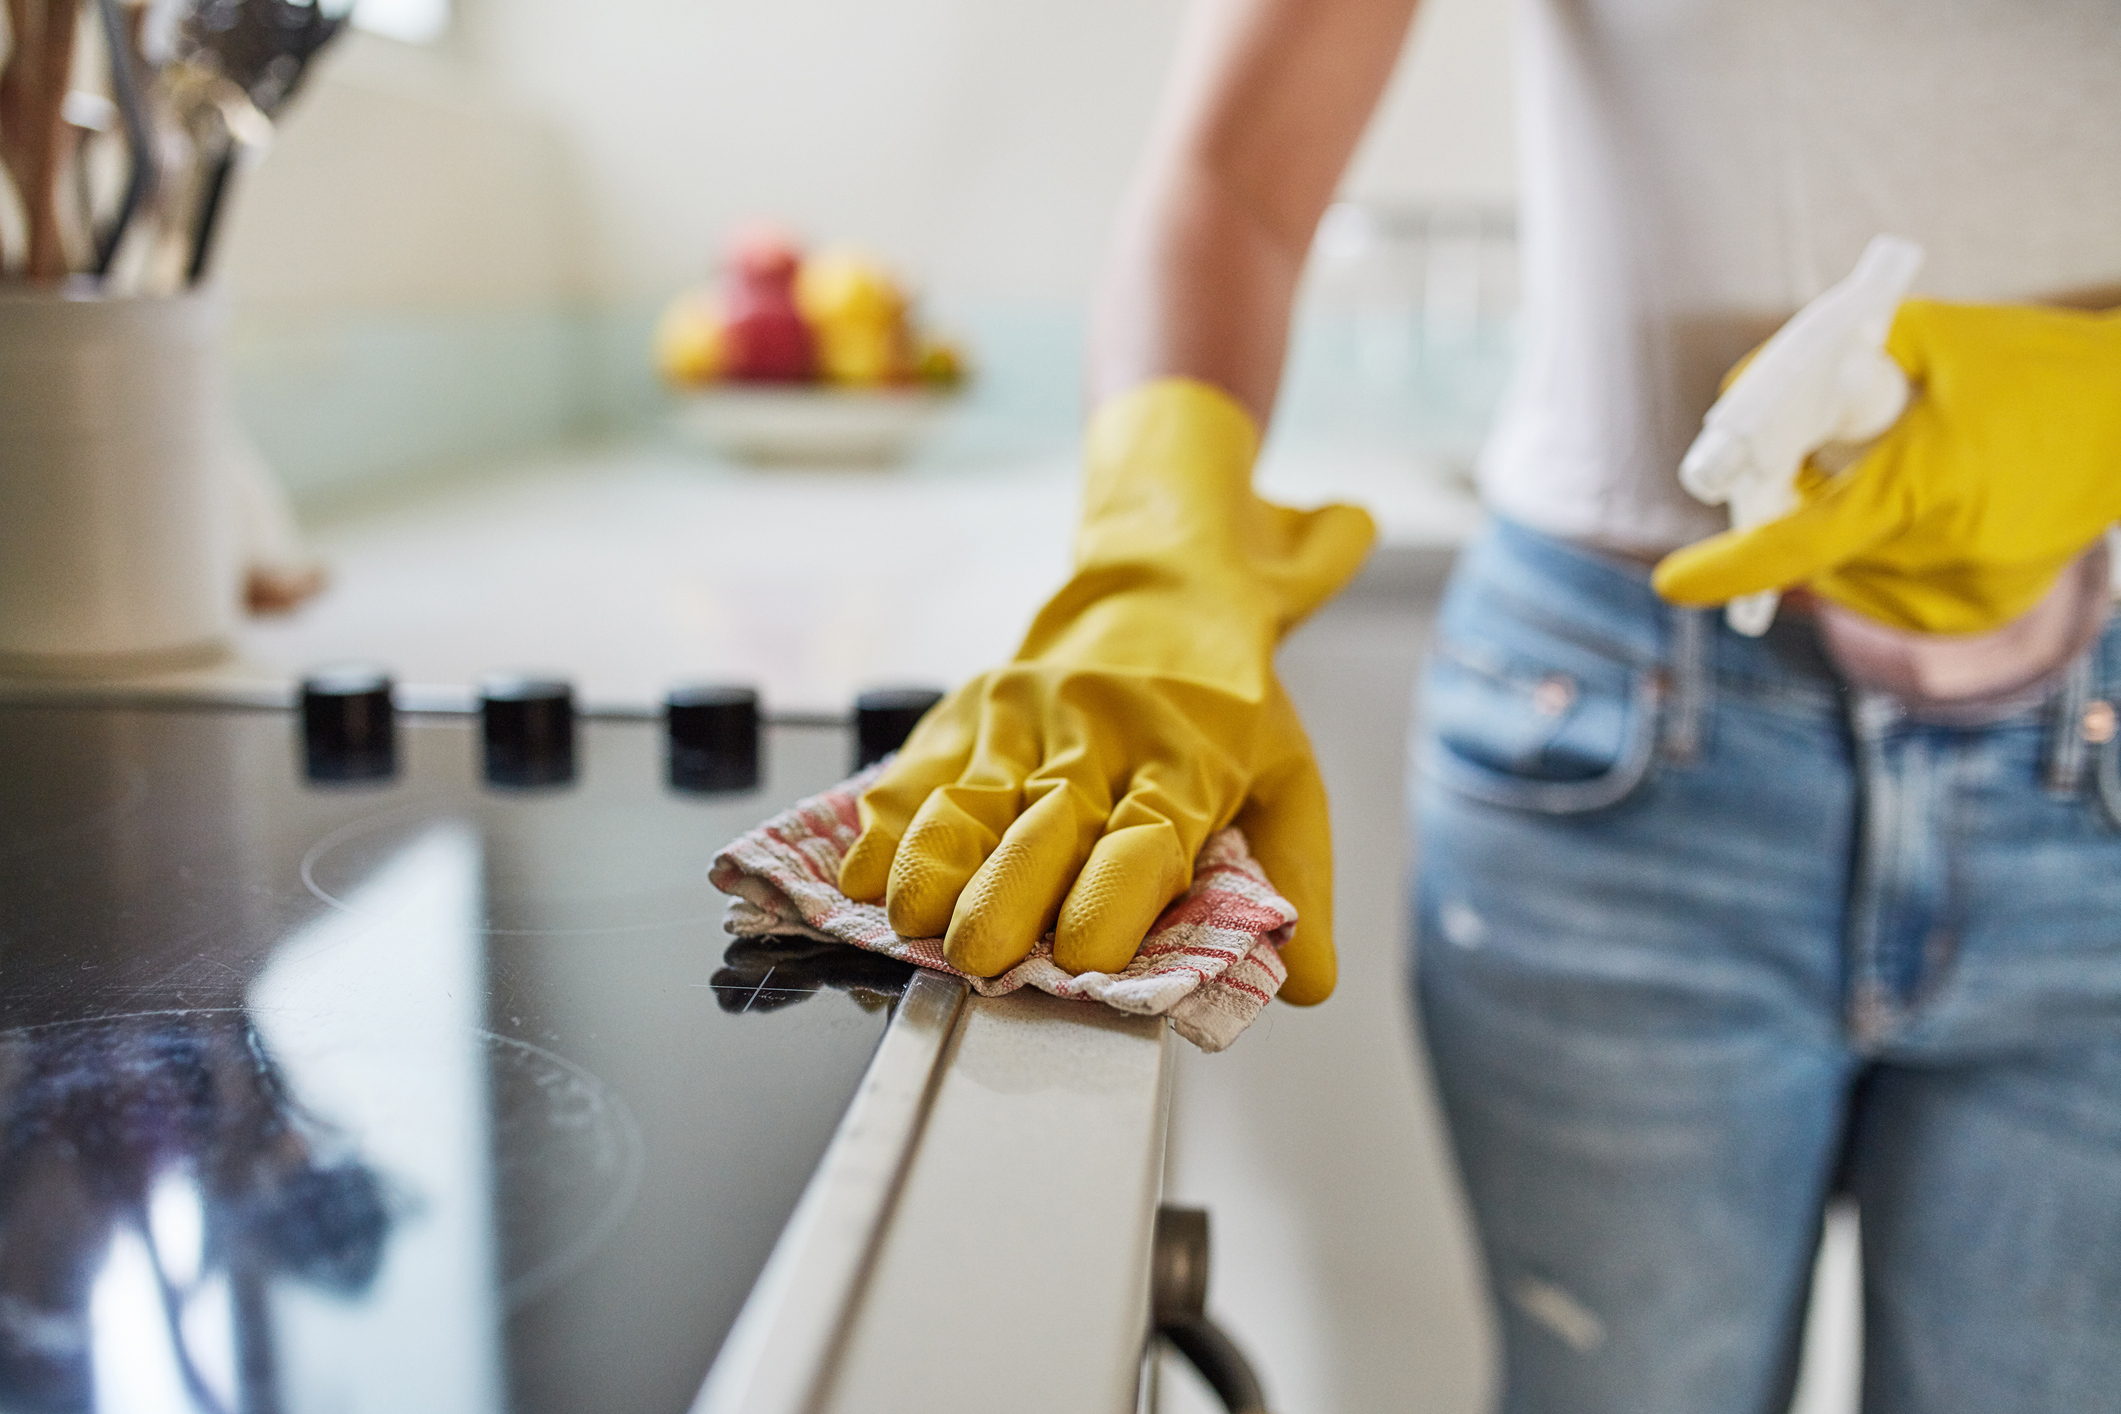
Stovetop
The approach here depends on your cooktop type. Gas burners require removing the grates and soaking them separately. Ceramic and induction surfaces need specific non-abrasive cooktop cleaners to avoid scratching. Scrape off any burnt-on food with a non-abrasive scourer. Make sure you use a cleaner designed for your specific type of cooktop.
On gas stovetops, don't forget to clean around and underneath the burner caps once removed. That's exactly where inspectors look.
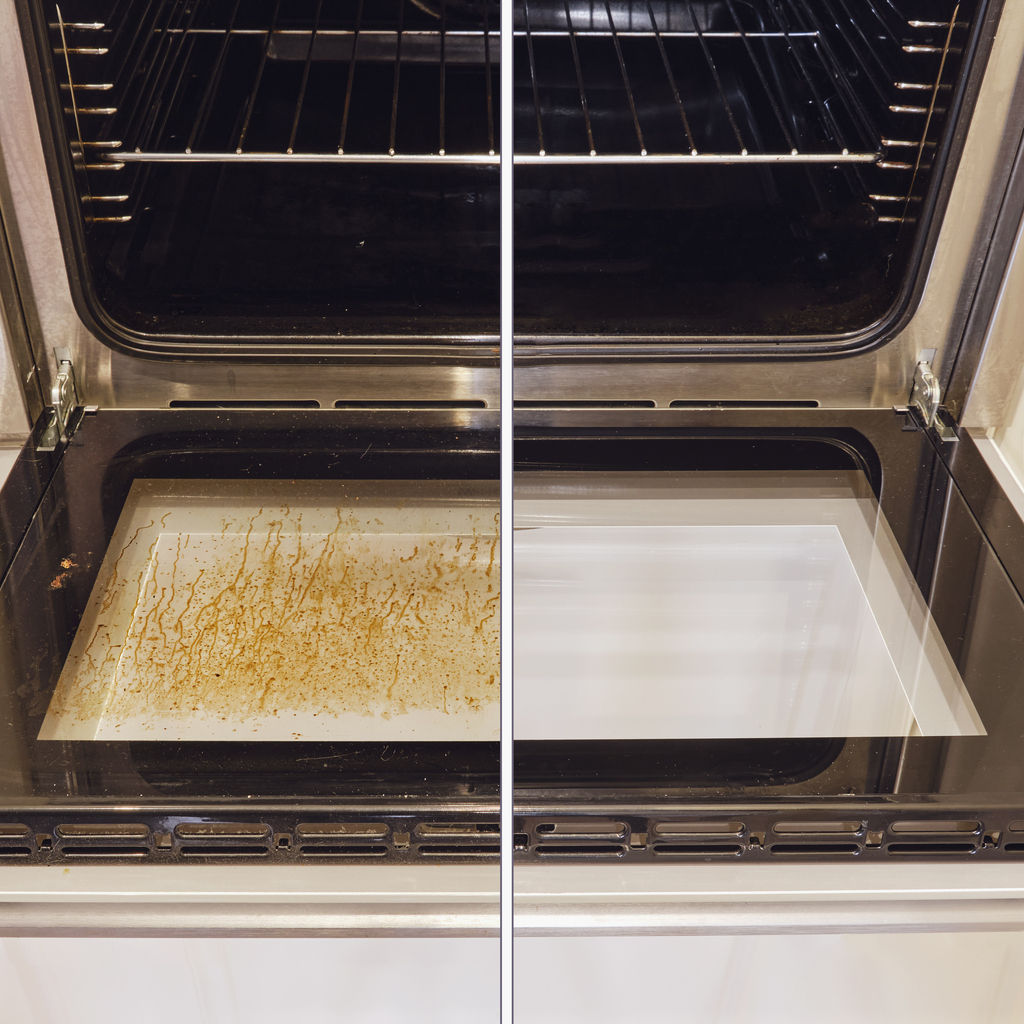
2. Oven Interior: Racks, Door Glass, and Cavity Walls
The kitchen receives significant scrutiny. Ovens are among the most frequently cited items in bond deduction disputes. A clean-looking oven from the outside means nothing if the interior, door glass, and elements show baked-on grease. Property managers open every oven door and look inside every time.
How to Approach It
Start the oven before anything else in the kitchen. Tackle the oven and appliances first. These need the most soaking time. Apply oven cleaner at the start and let it sit while you clean the rest of the kitchen. Always follow the manufacturer's instructions for your specific product, but many oven cleaners recommend a dwell time of around 30 to 60 minutes to properly break down carbonised residue.
Start with the oven, which requires oven cleaner applied according to product instructions, then scrubbing with non-abrasive pads. The door glass needs separate attention. Most ovens have removable glass panels that accumulate grease between layers.
For the glass, if you can safely remove the door panels (check the oven manual), clean between the layers where grease pools invisibly. Even if the inner-facing glass looks clean, the layer between panes often isn't, and it shows when light hits it during inspection.
Racks
Remove the racks and soak them in hot water with degreaser in the bath or a large tub. Carbonised buildup will soften considerably after 20 to 30 minutes, making scrubbing more effective. Rinse them clean and dry completely before replacing them.
Cavity Walls
Wipe the roof, side walls, and floor of the oven cavity once the cleaner has done its work. Use a non-scratch scouring pad for any stubborn spots. Pay particular attention to the corners, where residue tends to collect and harden.
3. Cabinet Interiors and Drawer Liners
This is the section most tenants skip, and it's also where inspectors consistently find grounds for deductions.
Property managers open every cupboard door and drawer, check appliance interiors, and examine areas behind and under furniture that can be moved. Assuming they'll skip these areas is a common reason tenants lose bond unnecessarily.
What to Do
Empty every cabinet and drawer completely. Wipe them down completely, getting rid of any lingering crumbs or sticky spots. For cabinets with liner paper or contact adhesive shelf liners, pull them out and check what's underneath. Crumbs and moisture often accumulate beneath, and the liner itself may have absorbed food odours.
Replace liners that are stained or smell musty. Where no liner exists, wipe the shelf surface with a mild cleaner and dry it thoroughly to prevent any musty odour taking hold before inspection day.
Don't overlook the cabinet doors themselves, both sides. The interior-facing surfaces collect airborne grease and dust from years of cooking. A quick wipe with a degreaser cloth makes a noticeable difference.
Check corner cabinets carefully. Their awkward shape makes them easy to half-clean, and the back corners are exactly where inspectors run a finger.
4. Sink Fixtures and Tapware
A kitchen sink sees constant use, and over months and years it accumulates water mineral deposits, soap scum, and surface staining that builds up gradually enough that you stop noticing it. An inspector with fresh eyes notices immediately.
Polish stainless steel and remove any calcium build-up. For tapware, limescale is the most common issue. White mineral deposits form around the base of taps, on aerator covers, and anywhere water regularly pools and evaporates.
Descaling
A cloth soaked in white vinegar, wrapped around the tap base and left for 20 to 30 minutes, dissolves light-to-moderate limescale effectively without damaging the fitting. For heavier build-up, a commercial descaler will work faster. Rinse thoroughly after using any acid-based product.
The aerator at the tip of the tap — the small mesh screen — often blocks up with mineral deposits and affects water flow. Unscrew it if possible, soak it in vinegar, scrub with an old toothbrush, and replace it clean.
Soap Scum and Water Marks
These photograph poorly. Even a clean-looking sink can fail inspection photos if the stainless steel is covered in dried water spots. After scrubbing, dry the entire sink and tapware completely with a cloth. A final buff with a dry microfibre cloth removes streaks and leaves stainless steel with a clean finish.
Don't neglect the area beneath the tap handles and along the back edge of the sink where it meets the splashback. Soap scum and grime collect in those junctions and are visible in any photo taken during condition reporting.
5. Refrigerator Space: Behind and Beneath
If the refrigerator was part of the tenancy — provided by the landlord and included in your condition report — then the space it occupies is your responsibility to return clean.
Remove the fridge and clean behind it. This area accumulates dust and sometimes food debris. In practice, this often means a significant build-up of dust, pet hair if applicable, and food that has fallen behind the unit over the course of the tenancy. It isn't a pleasant job, but it's a documented deduction if left undone.
Practical Steps
Pull the unit out far enough to access the floor and wall behind it. Vacuum first to collect loose dust and debris, then wipe the floor and wall surfaces with a damp cloth. Check the coil area at the back of the unit if accessible, as dust accumulation there is visible and noted in thorough inspections.
The floor area beneath the front of the fridge is equally important. Many units have a kickplate or grille at the base that can be removed for cleaning. Vacuum underneath the unit itself where dust collects around the compressor housing.
Once the area is clean, move the fridge back carefully to avoid scratching the floor. If the fridge includes internal shelves, drawers, and door compartments, clean those as well. If your rental comes with appliances, note that tenant responsibility for appliance functionality depends on the terms of your tenancy agreement and the cause of any fault. Review your agreement or contact Tenancy Services NZ
GetCharlie
Hire local verified tradespeople to maintain your home
Hire local verified tradespeople to maintain your home
Learn more about GetCharlie and get started today.
Visit GetCharlie